Curved Molding on a Molder
Constant Radius vs. Elliptical — Setup, Tools & Techniques
Creating curved molding on a molder requires more than simply bending stock and running it through the cutterhead. The geometry of the curve determines everything from how you prepare the material to which guiding system you’ll need.
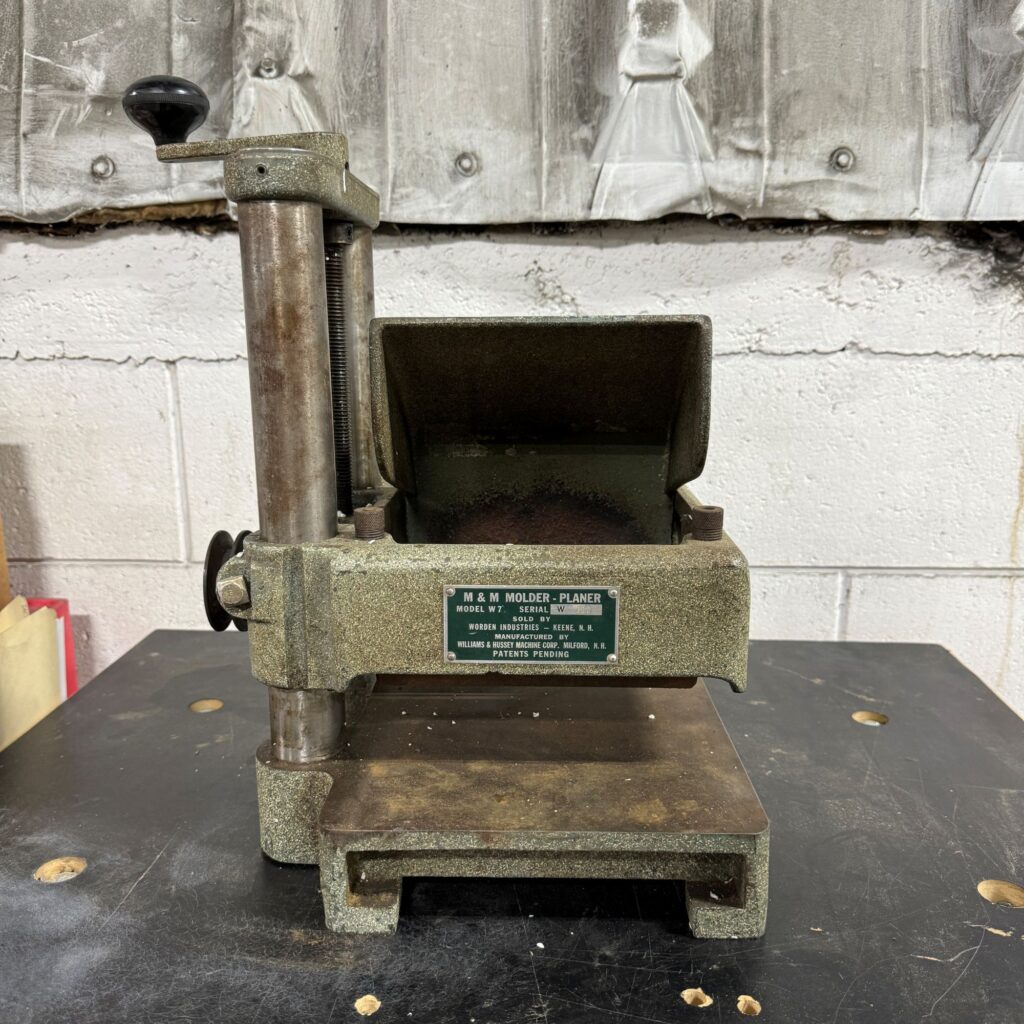
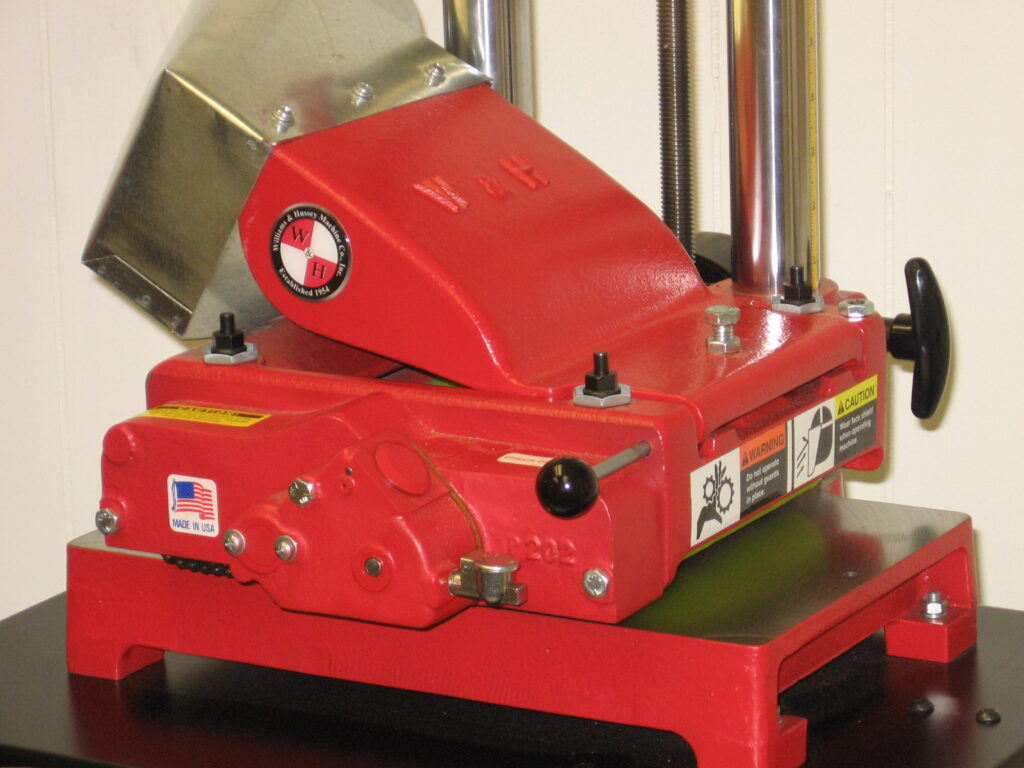
The Williams & Hussey Molder is uniquely capable of producing both constant radius arcs and elliptical moldings. The key is understanding the difference between the two and setting up your machine accordingly.
Understanding the Difference: Constant Radius vs. Elliptical
Before beginning any curved molding project, identify the type of curve your design requires. When producing curved molding on a molder, understanding whether your project calls for a constant radius arc or an elliptical profile determines the setup you’ll need.
A constant radius arc follows a fixed circular path. The radius remains the same from start to finish — like a segment of a perfect circle.
An elliptical curve, by contrast, changes radius gradually along its length. This shifting geometry makes elliptical molding more complex to produce and requires a different support system.
Quick Comparison
| Feature | Constant Radius Arc | Elliptical Molding |
|---|---|---|
| Radius Type | Fixed | Changing |
| Pivot Bar Compatible | Yes | No |
| Requires Elliptical Jig | No | Yes |
| Maximum Profile Width | Up to 6 3/4″ | Varies by setup |
| Complexity | Moderate | Advanced |
Understanding this distinction early prevents setup errors and ensures you’re using the right tooling for the job.
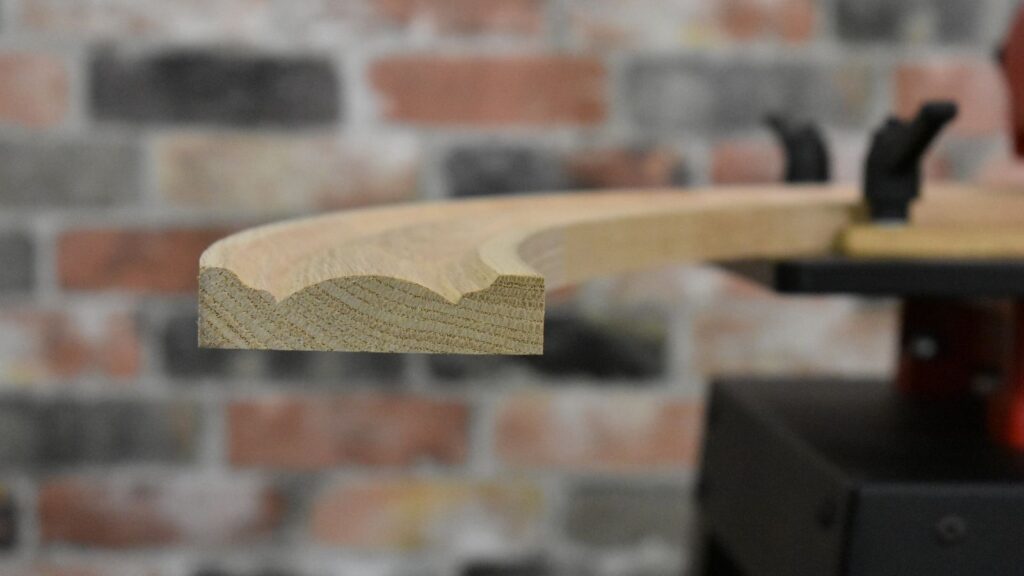
Producing Constant Radius Arc Molding
Constant radius molding is common in arched doorways, window heads, cabinet valances, and restoration work. Producing curved molding on a molder for constant radius applications requires properly shaped guides. Because the curve remains consistent, it can be controlled using curved guides that match the exact radius of your project.
Unlike straight runs, curved stock must be supported throughout the pass to maintain proper alignment and prevent interference with the guiding hardware.
Watch: Constant Radius Arc Demo
In this demonstration, you’ll see:
- Custom curved guides shaped to match the project radius
- Stock moving smoothly through the molder
- Close-up shots of the profiled wood exiting in a precise constant radius
- Profiles up to 6 3/4″ wide
- The simplicity and versatility of the W&H Molder in curved applications
The video highlights how proper guide preparation allows consistent arc molding without complex machinery.
Machine Setup for Constant Radius Work
Producing consistent arc molding begins with properly shaped guides that follow your desired radius.
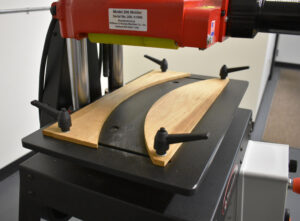
Successful setups include:
- Curved MDF guides that match the exact arc
- Secure stock support throughout the pass
- Precise alignment to avoid hardware interference
- Careful inspection before cutting
Even slight inconsistencies in guide shape will transfer to the finished molding. Precision in preparation ensures smooth, repeatable results.
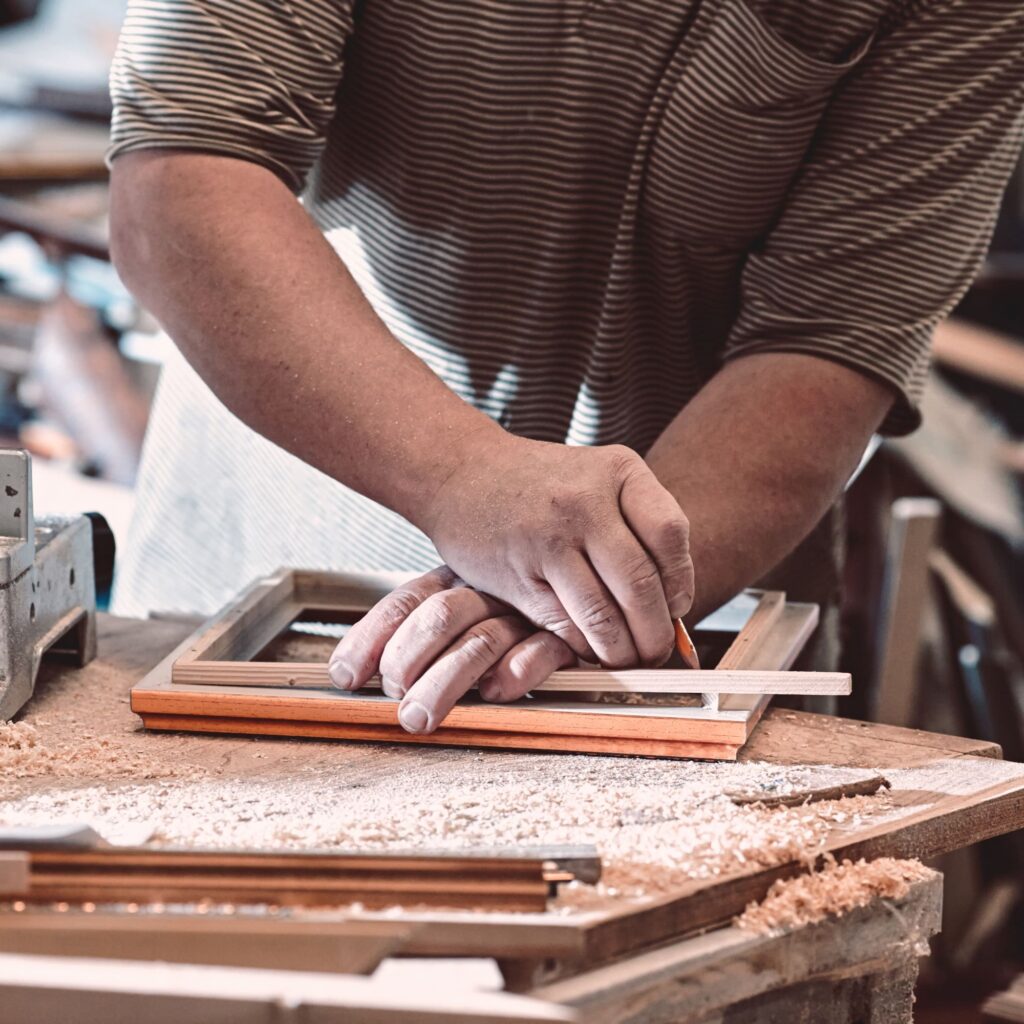
Preparing Stock for Constant Radius Arcs
Most arc moldings are built from segmented sections joined into a continuous curve.
Start by calculating the angle required to achieve your desired radius. Pay close attention to grain direction and color matching, especially on visible trim pieces.
Once cut:
- Join sections using biscuits and wood glue
- Clamp securely and allow full curing
- Sand joints flush before profiling
Many shops use a pivot bar system drilled at measured intervals to accommodate different radii. A fine adjuster screw or threaded rod allows micro-adjustments for precise alignment. As a general rule, cut the outside radius first before shaping the inside.
When properly prepared, constant radius molding becomes a repeatable and efficient process.
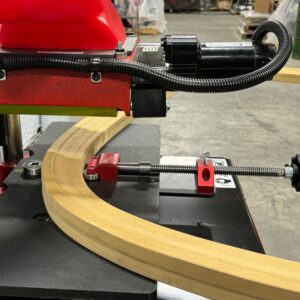
When the Curve Changes: Elliptical Molding
When producing curved molding on a molder, elliptical applications introduce a new level of complexity. Because the radius gradually transitions along the curve, a pivot system cannot maintain consistent control.
Because a pivot system cannot follow a changing radius, elliptical molding requires a dedicated guiding system.
The Williams & Hussey Elliptical Jig is designed specifically for these applications. It replaces the standard tabletop and uses a floating and fixed bearing system to guide the template smoothly along the cutterhead.
Elliptical moldings are commonly found in:
- Elliptical window heads
- Large architectural arches
- Decorative entryways
- High-end commercial millwork
Watch the Elliptical Process in Action
Seeing the process makes the distinction clear.
In this demonstration, you’ll see:
- Elliptical template preparation
- Proper stock mounting
- A relief cut (first pass)
- A final profile cut (second pass)
- Bearing-guided template control
The two-pass approach reduces strain on knives and produces a cleaner finish across the changing radius.
Preparing Stock for Elliptical Moldings
Because elliptical curves shift in radius, stock preparation requires careful planning.
Many projects rely on laminated construction. Thin strips are ripped, glued, and clamped around a form to achieve the elliptical shape. After curing, the laminated piece holds its curve and is ready for profiling.
For larger or wider profiles, segmented construction may still be required. In these cases:
- Join sections carefully with biscuits and glue
- Clamp securely to preserve the intended geometry
- Sand transitions smooth before cutting
Template accuracy is critical. Even slight deviations in the elliptical guide will be visible in the final molding.
Real-World Application: Expanding Capabilities with Elliptical Molding
Shops that master curved molding on a molder often discover new market opportunities.
Ballash Woodworks, a veteran-owned business in Fayetteville, North Carolina, integrated the Williams & Hussey Variable Speed Molder and Elliptical Jig into their workflow when tasked with producing a curved glass storefront window.
The project required precise arched sills and heads — profiles that demanded both accuracy and repeatability. By combining the molder with the Elliptical Jig, molder mobile base , and profile pressure guide, their team was able to:
- Produce custom curved trim components
- Replicate historically accurate molding profiles
- Deliver full trim packages for doors, baseboards, and window casings
The addition of curved molding capability allowed them to expand into higher-end architectural and restoration markets.
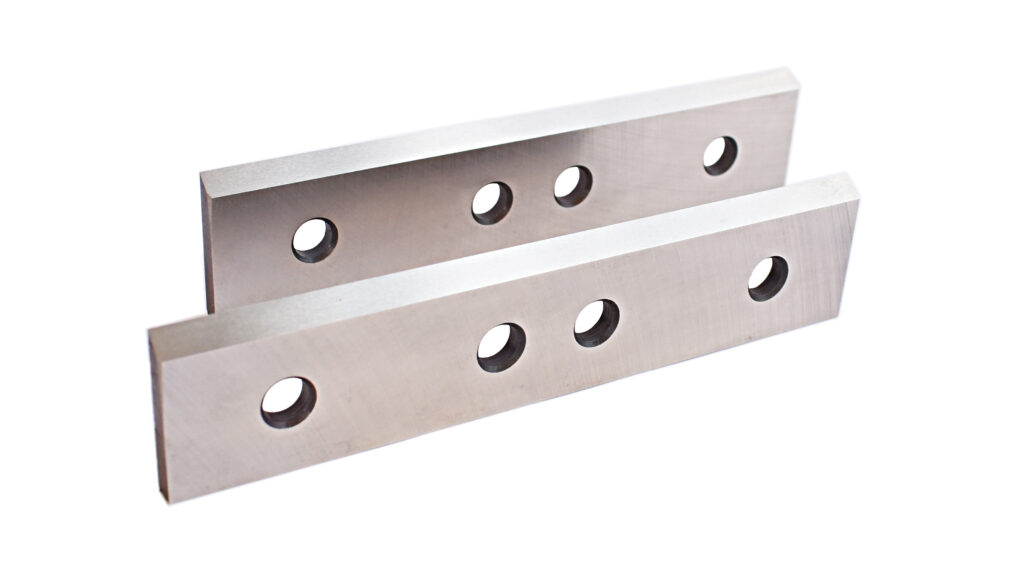
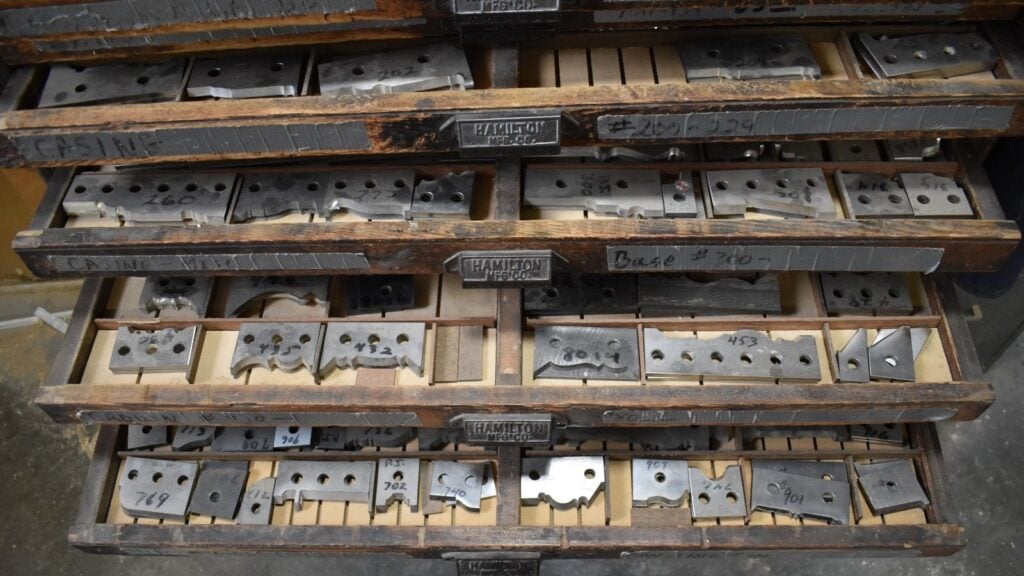
Tooling & Knife Considerations for Curved Work
Regardless of curve type, sharp tooling is essential.
Curved stock introduces more variable grain exposure than straight runs. To minimize tear-out and chatter:
- Use sharp, high-quality knives
- Reduce feed rate when cutting hardwoods
- Avoid excessive cutter speed
- Consider custom-ground profiles for restoration or specialty trim
Proper tooling transforms curved molding on a molder from a challenge into a predictable, repeatable process.
Safety Considerations
Curved work requires stable support and thoughtful setup.
- Avoid closed-loop molding configurations
- Ensure adequate roller pressure at entry
- Confirm template stability before cutting
- Always rotate the arbor by hand before powering on
- Wear proper eye and ear protection
Careful preparation ensures both safety and accuracy.
Final Thoughts
Producing curved molding on a molder begins with understanding the geometry behind the curve. A fixed circular arc can be shaped accurately using properly prepared templates and curved guides. A changing elliptical curve, however, requires a dedicated guiding system designed to follow its shifting radius.
Understanding the difference between constant radius and elliptical geometry allows you to choose the correct setup and confidently expand your shop’s curved molding capabilities.
With the right preparation, tooling, and support system, the Williams & Hussey Molder becomes more than a straight-run machine — it becomes a versatile shaping solution capable of delivering clean, repeatable curved profiles for architectural, restoration, and custom woodworking applications.