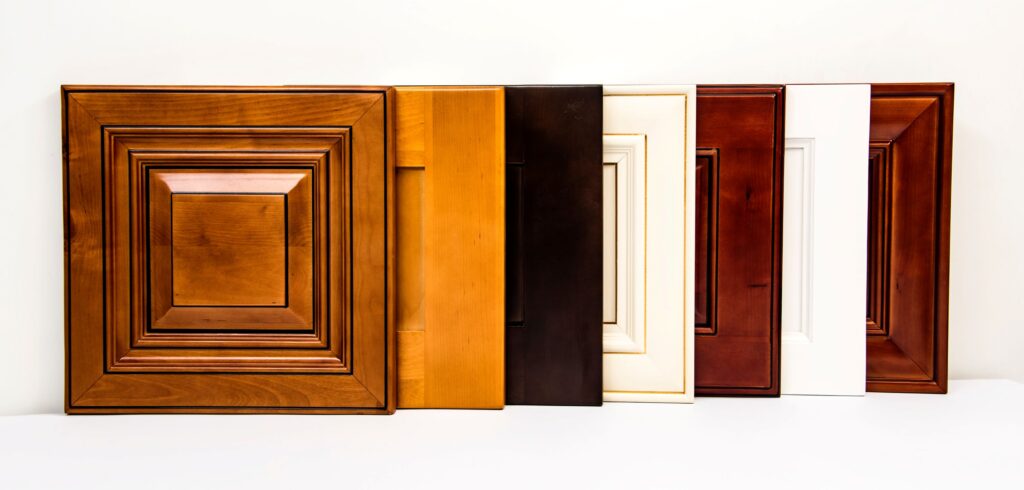
Raised panels add elegance and depth to woodworking projects, making them a staple in cabinetry, furniture, and decorative wall paneling. The Williams & Hussey molder provides a precise and efficient way to create raised panels and makes a high-quality finish with every pass. This guide will walk you through using your Williams & Hussey molder to achieve professional raised panels.
Why Choose a Williams & Hussey Molder for Raised Panels?
When it comes to producing raised panels, precision and control are key. Unlike routers or table saws, the molder provides a more controlled cutting process. It reduces tear-out and allows for smoother finishes on hardwoods and softwoods alike. The Williams & Hussey molder is an excellent choice for woodworkers who want professional-quality results with minimal molder setup time.
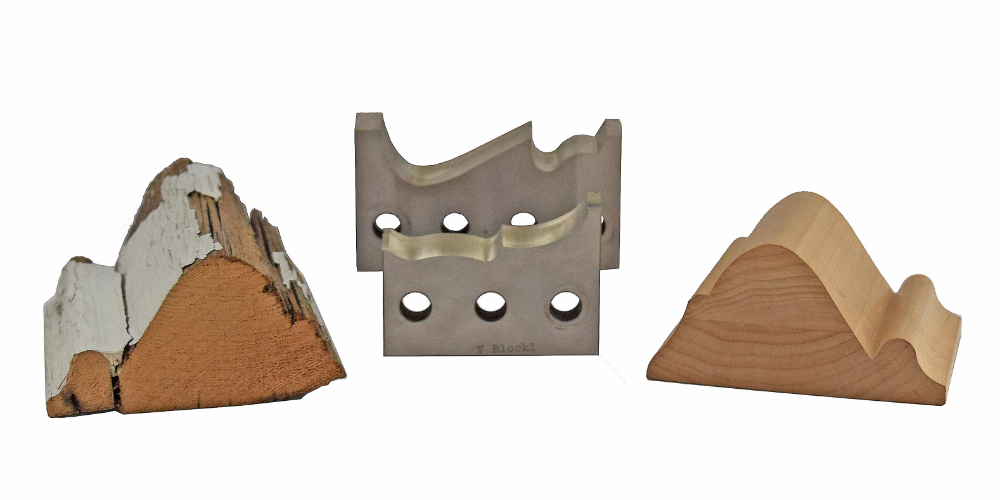
Choosing the Correct Raised Panel Knife
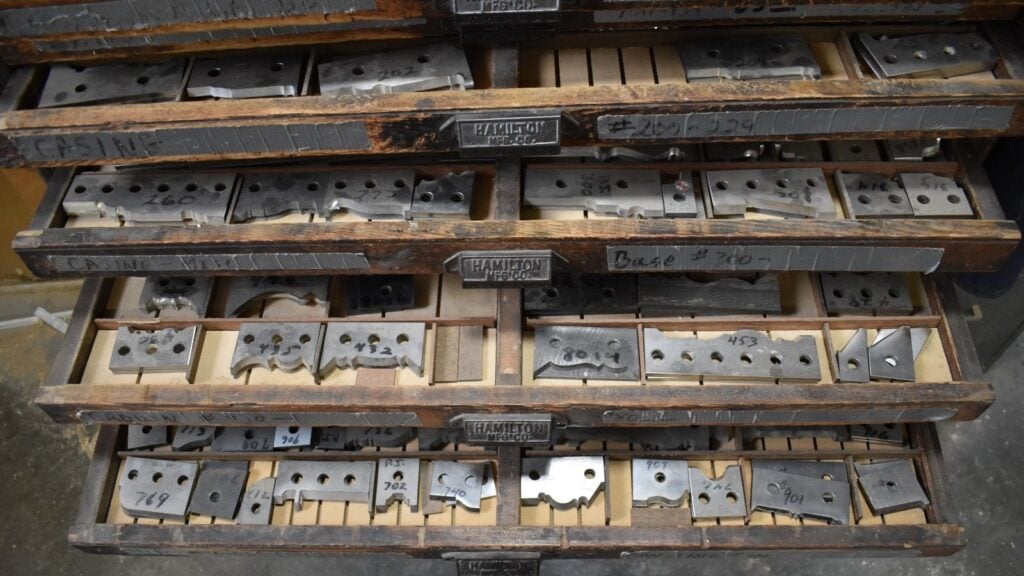
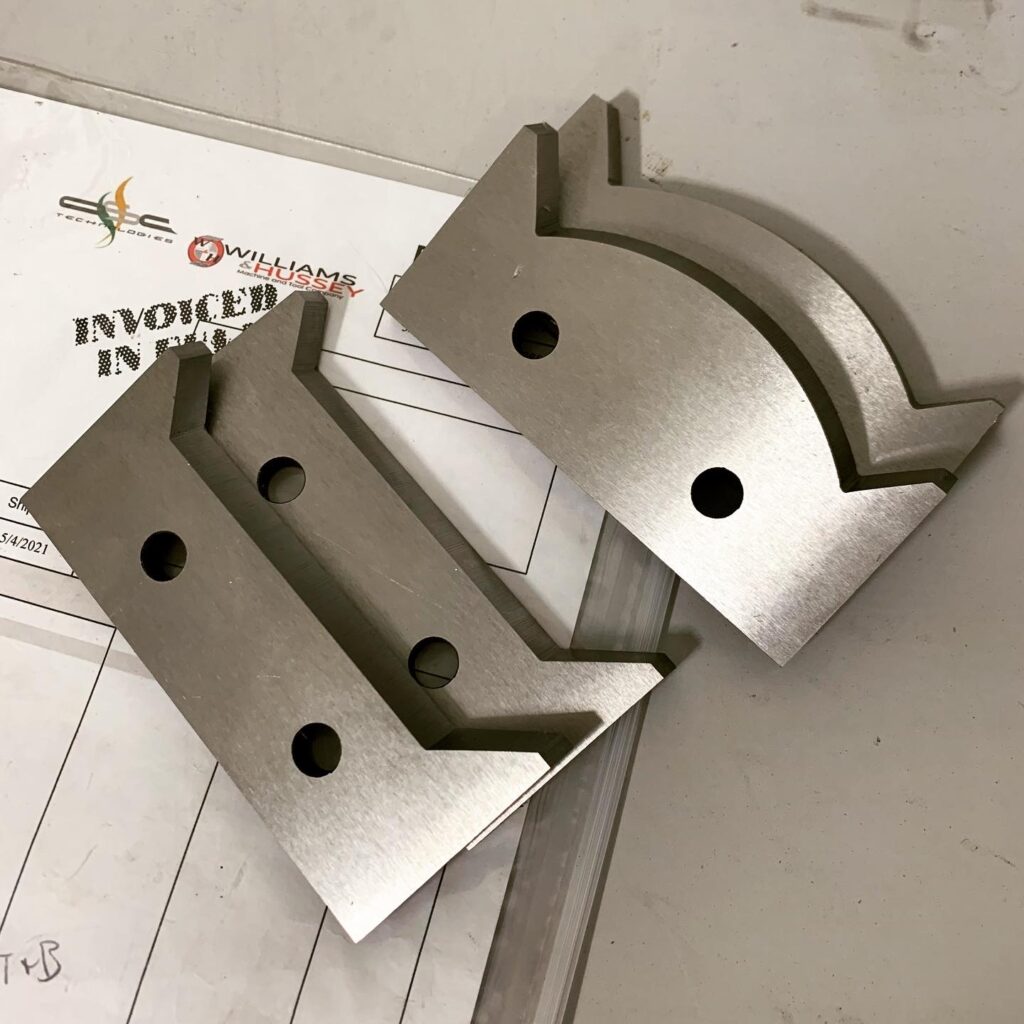
Selecting the right raised panel knife is crucial to achieving a clean and accurate profile. Williams & Hussey offers a variety of standard knives, along with custom options to match your specific project needs.
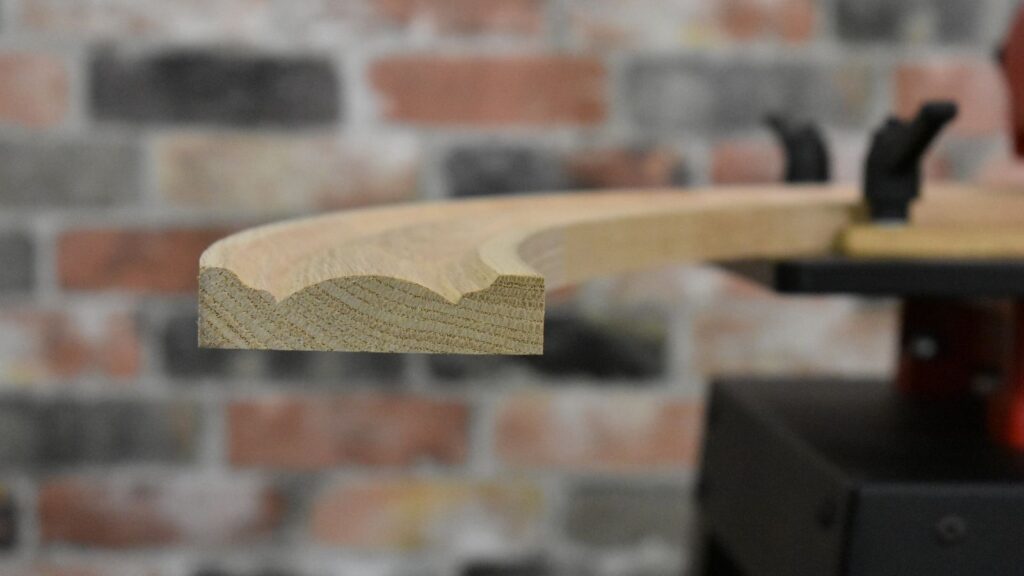
All Williams & Hussey panel knives produce a ¼-inch tongue. To achieve the best results, select a panel knife that matches the thickness of your finished panel. Standard panel thickness options include ¾ inch and ⅝ inch. If you require a different tongue size or panel thickness, Williams & Hussey can design custom knives to match your specifications.
Material Selection & Preparation
The type of wood you choose and how you prepare it will impact the outcome. Understanding the characteristics of different wood species will help you make informed decisions for your raised panels.
- Best Woods for Raised Panels: Hardwoods like oak, cherry, and maple produce crisp profiles but require slower feed rates. Softwoods like pine and poplar are easier to cut but may need extra sanding.
- Ensure Consistency: Panels should be uniformly thick and flat before molding to prevent uneven cuts.
Setting Up for Raised Panels
Proper setup is essential to achieving clean, consistent results. Follow these steps to prepare your molder for raised panel production:
- Power Off: Disconnect the machine’s power supply to set up the molder safely.
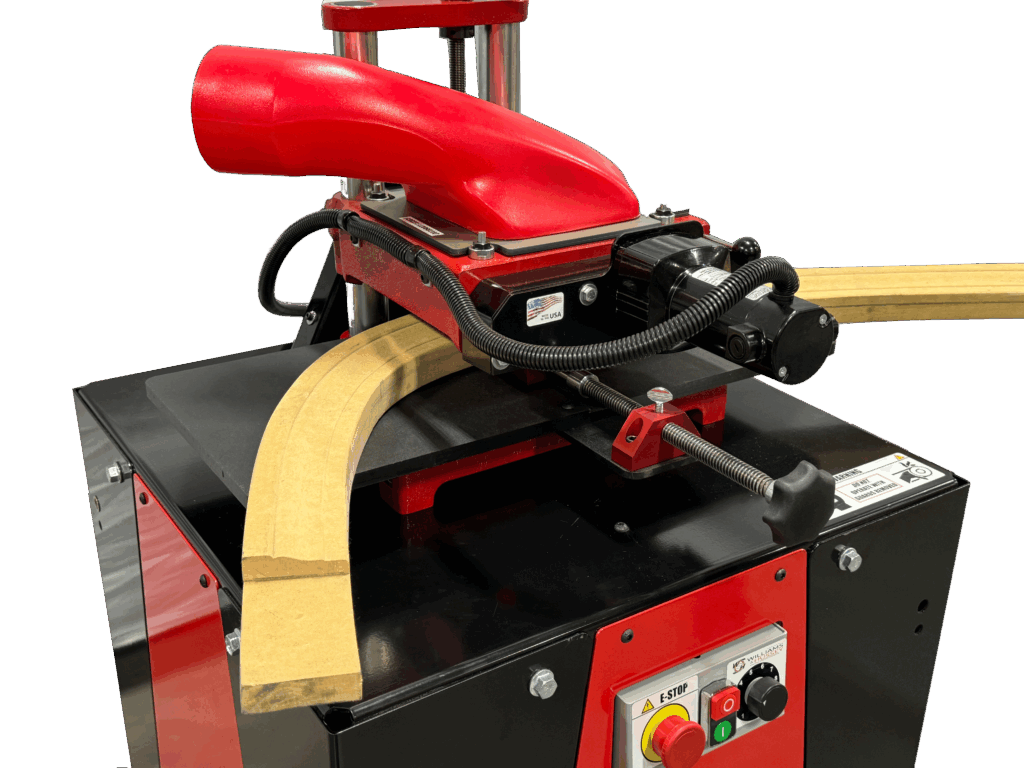
- Knife Installation: Install your raised panel knife toward the tube side of the machine, leaving enough space for the guide.
- Align the Knife: Index the knife arbor so the profile aligns visually with the machine bed. Raise the machine head and place the panel on the bed to check alignment.
- Secure the Panel: Lower the machine head until the rollers apply pressure to the panel. Position the guide firmly against the panel and tighten it securely.
- Final Adjustments: Lift the head, remove the panel, and lower the head to within 3/16″ of the panel height. Manually rotate the blade arbor to check for any obstructions before turning the machine back on.
Molding Procedure
Once your machine is set up, follow these steps to begin molding your raised panels:
- Start with Cross-Grain Ends: Always mold the cross-grain ends first. This minimizes tear-out for a cleaner finish.
- Maintain Panel Engagement: Keep at least 9″ of the panel engaged with the rollers to maintain control and achieve consistent results.
- Apply Proper Pressure: While feeding the panel through the molder, apply slight upward pressure and keep it pressed against the guide to prevent shifting.
- Optimal Feed Rate: Use a steady feed rate to avoid chatter marks and excessive burning.
Common Issues & Solutions
Even experienced woodworkers encounter challenges when making raised panels. This troubleshooting guide will help you quickly resolve common problems.
Tear-out on Edges
- Cause: Cutting too aggressively
- Solution: Make multiple lighter passes
Chatter Marks
- Cause: Uneven feed rate or dull knives
- Solution: Keep a steady feed and check the sharpness of the knives
Uneven Cuts
- Cause: Warped panel or incorrect head alignment
- Solution: Keep the panel flat and the head correctly set
Excessive Burning
- Cause: Feed rate too slow or dull knives
- Solution: Increase feed speed and sharpen knives
Finishing Techniques
A well-finished panel enhances the beauty of the wood and provides long-lasting durability. Proper sanding, staining, and sealing techniques are essential for a professional look.
- Post-molding Sanding: Use a fine-grit sanding sponge or orbital sander to remove cutter marks.
- Edge Softening: Lightly round over sharp edges with sandpaper for a refined look.
- Staining & Finishing: Apply a pre-stain conditioner on softwoods to prevent blotchy stain absorption.
Safety Considerations
Safety should always be a top priority when working with woodworking machinery. Following these precautions will help prevent accidents.
- Use Push Blocks: Keep hands away from the cutterhead to prevent injury.
- Use Dust Collection: Proper dust extraction reduces airborne particles and maintains visibility.
- Check Guide & Knife Adjustments: Secure all components before powering the machine.
Real-World Applications
Raised panels are a timeless feature in woodworking. From cabinetry to decorative wall panels, woodworkers use the Williams & Hussey molder to create raised panels for:
- Cabinet doors
- Wainscoting
- Decorative wall panels
- Furniture pieces
By following these steps and best practices, you can create unique raised panels with precision and consistency using the Williams & Hussey molder. Whether crafting cabinetry, wainscoting, or furniture components, this versatile machine will help you achieve stunning results every time.
Ready to enhance your woodworking projects with professional-grade raised panels?
Explore our panel knives or contact Williams & Hussey for custom solutions!