What To Do If You’re Experiencing Chatter or Snipe
If you’re seeing inconsistent cuts, surface marks, or undercuts on your moldings, your machine may be experiencing chatter or snipe. Use this guide to help identify and correct the issue.
Chatter: Wavy Marks or Surface Imperfections
Chatter appears as a series of ripples or undulations on the surface of the wood. These can be evenly spaced or appear random, often described as “hills and valleys” in the finish.
Common Causes:
- The stock is not being securely held.
- Mechanical imbalance in the machine (cutting head, pulleys, or belts).
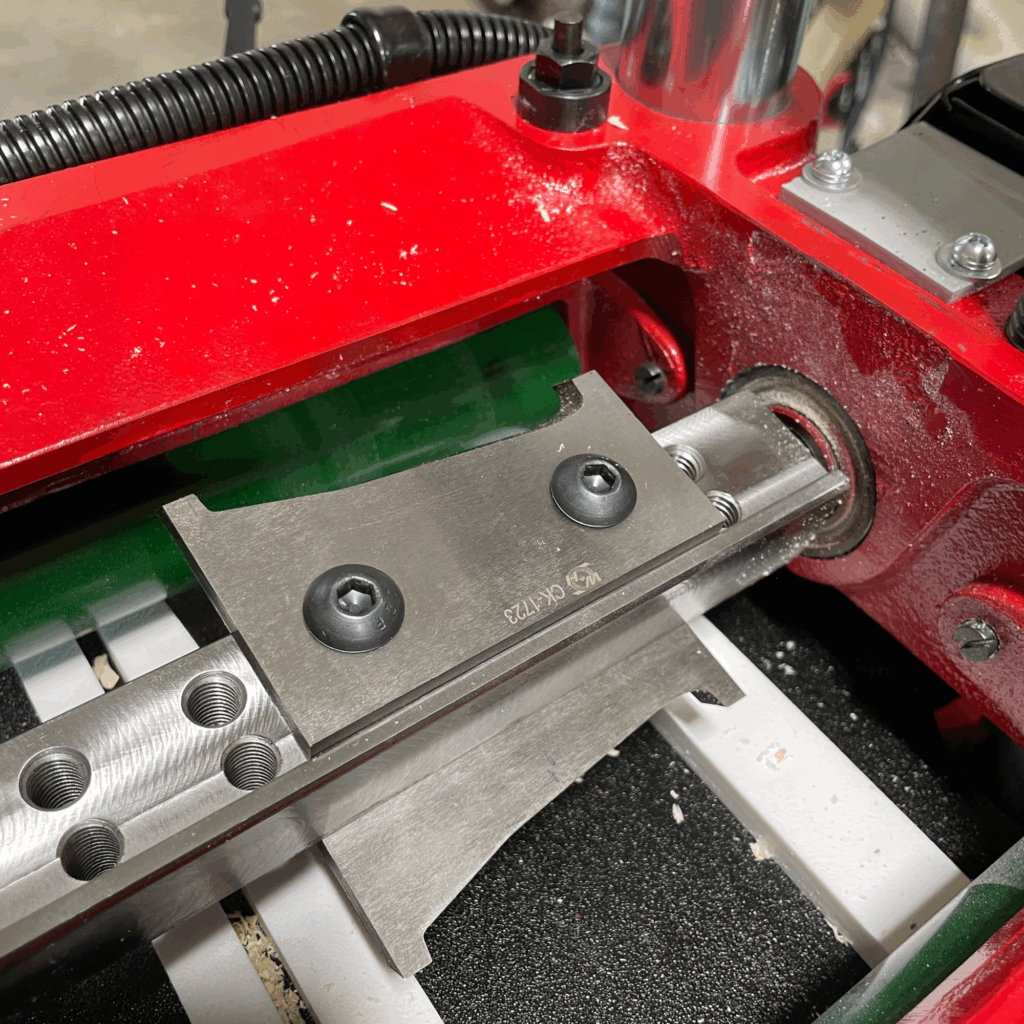
- Dull or unevenly weighted knives.
Checklist to Reduce or Eliminate Chatter:
- Replace Rough-Running Belts – Worn or stretched belts can cause vibration. Install new belts for smoother performance.
- Set the Cutting Head Height Correctly – Double-check that your cutterhead is set to the appropriate height for your stock.
- Sharpen or Replace Knives – Dull knives lead to uneven cutting and vibration. Keep knives sharp for clean results.
- Inspect Pulleys for Damage or Imbalance – Cracked or misaligned pulleys can throw off the machine’s balance.
- Ensure All Knives and Bolts Are Balanced – Use knives and bolts of equal weight to avoid imbalance in the cutterhead.
Snipe: Undercuts at the Start or End of a Board
Snipe is an unwanted dip or gouge in the first or last few inches of the board, making the molding thinner in those areas.
Common Causes:
- Warped, cupped, or twisted boards.
- Changes in roller pressure as the stock enters or exits the machine.
- Improper alignment between the stock and the machine bed.
Checklist to Prevent Snipe:
- Flatten the Stock First – Use a jointer to remove any warping, cupping, or twisting before running the board through the molder.
- Butt Boards Tightly End-to-End – Minimize the pressure change between boards by feeding them without gaps.
- Apply Upward Pressure During Infeed and Outfeed – Lightly lifting the board ends can help maintain a steady pressure and reduce snipe.
- Use a Longer Board Than Needed – Intentionally oversize your stock and trim the first and last few inches after molding.
- Secure the Head Locking Handle – Make sure the head locking handle is fully tightened to prevent shifting during the cut.
- Raise the Outboard Support Slightly Above the Bed – Improves the alignment and keeps the stock level during the pass.
- Use Scrap Boards to Buffer the Cut – Place 12″ scrap pieces (same thickness as your molding) at the beginning and end of the run. This maintains pressure and reduces snipe on the actual workpiece.
Still having issues? Contact our technical support team for assistance. We’re here to help you get the best results from your Williams & Hussey molder.
