Creating constant radius arc moldings requires precision and the proper setup to achieve seamless curves. While the process is similar to straight molding, it requires additional support and thoughtful planning to prevent interference with the guiding hardware. Woodworkers rely on custom templates, pivot bars, and dedicated guide systems to maintain accuracy and repeatability across every pass.
Applications of Constant Radius Arc Moldings
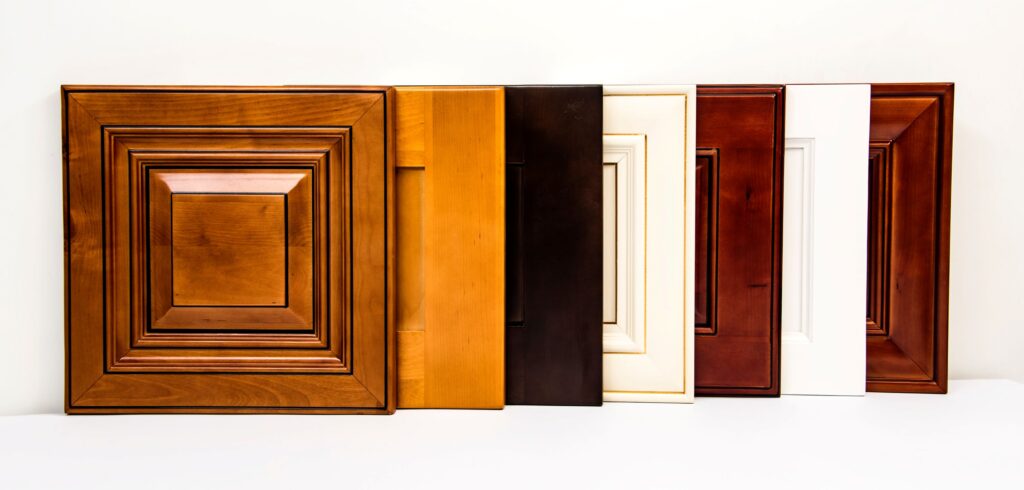
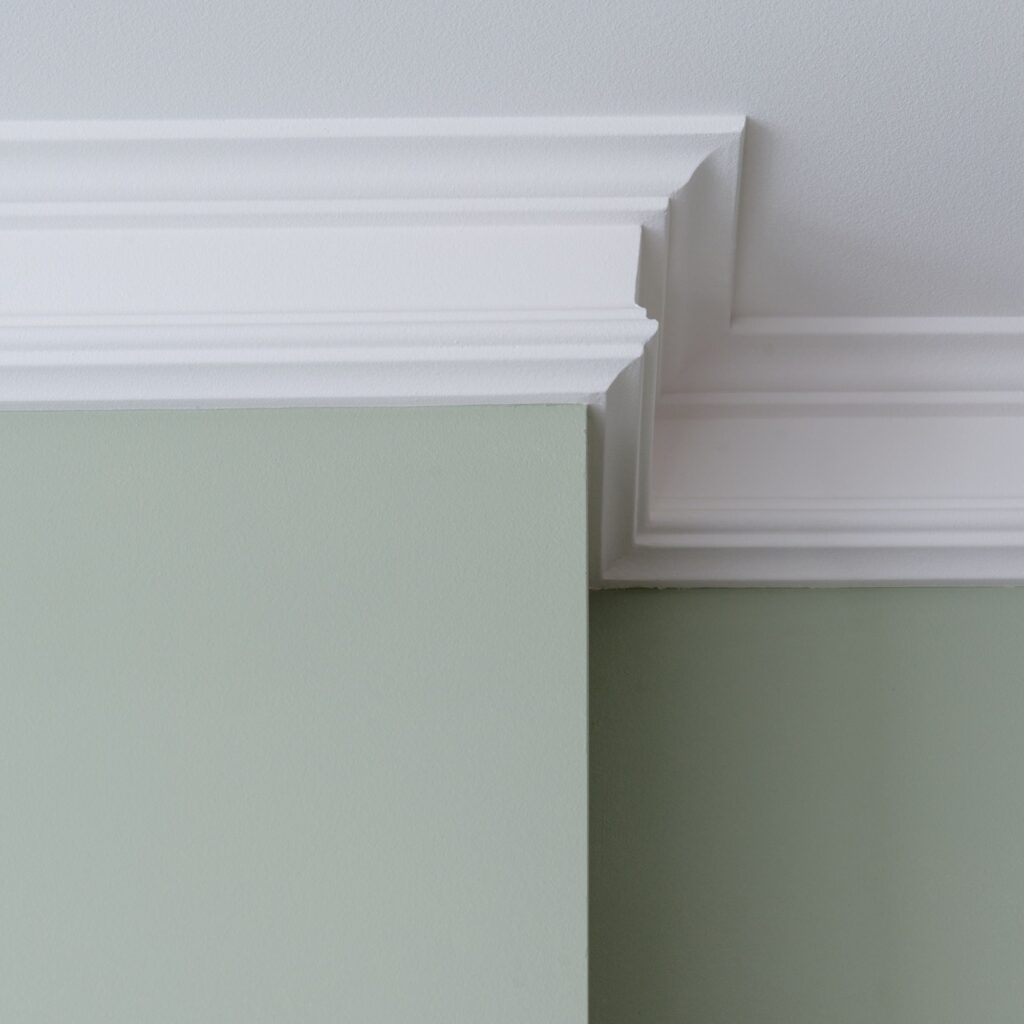
Constant radius moldings can be found in both traditional and contemporary woodworking projects. These elegant curves add sophistication, architectural detail, and visual interest to the following applications:
- Arched Doorways & Windows: These moldings follow curved architectural openings, adding elegance to doors, transoms, and specialty windows.
- Custom Cabinetry: Arc moldings add flair to cabinet valances, curved range hoods, and built-ins.
- Furniture Design: In high-end woodworking, these moldings enhance headboards, tabletops, and bookcases.
- Historic Restoration: Craftspeople restoring older homes rely on constant radius moldings to accurately replicate period-specific detailing.
Machine Setup for Constant Radius Arc Moldings
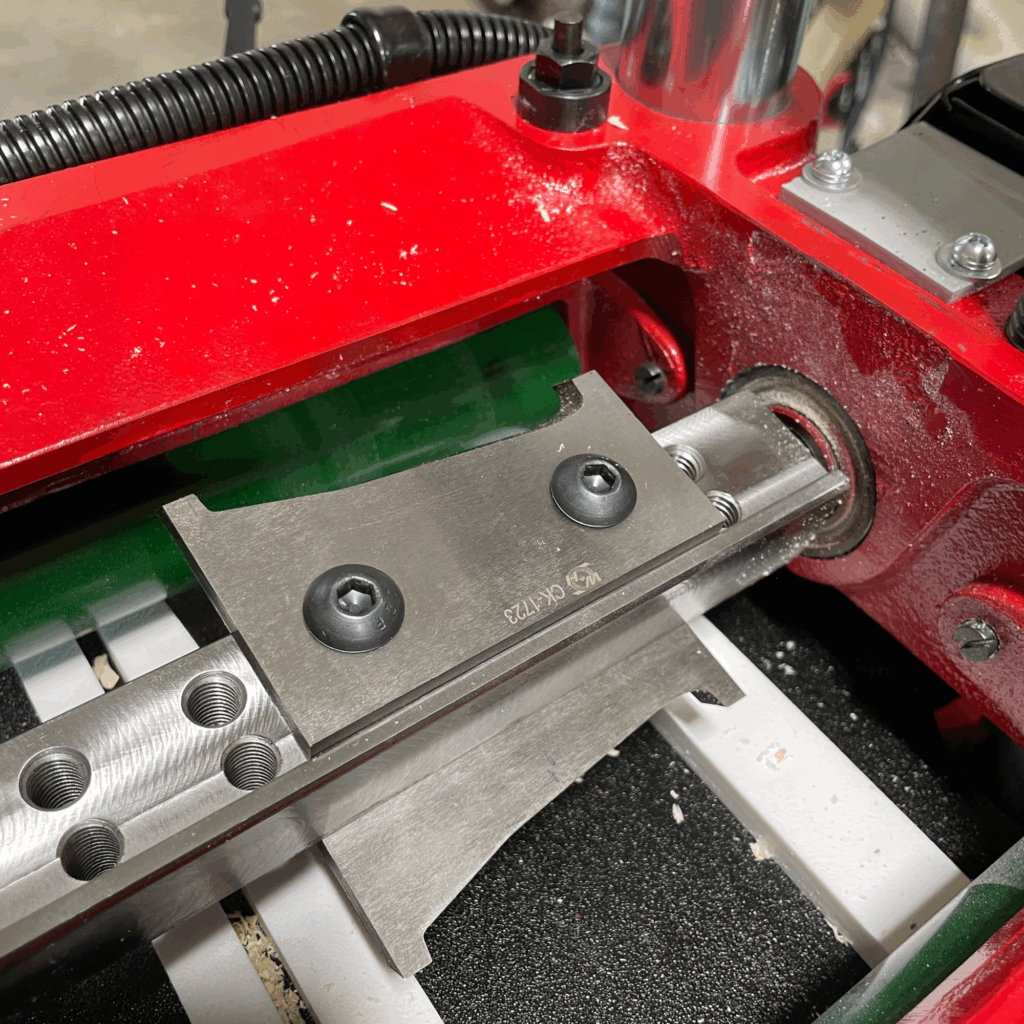
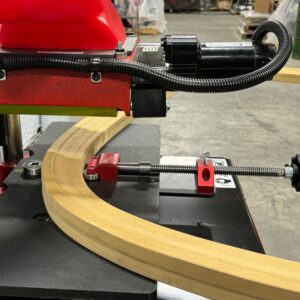
The Williams & Hussey Molder is well-suited for producing constant radius arc moldings with minimal adjustments. While the setup is similar to straight molding, one important difference is that the molding stock must be supported by a template to prevent interference with the machine’s guiding hardware.
Carefully cut the template to match the exact radius of the desired molding and securely hold the stock as it moves through the machine. Precision is essential when shaping the guide, as even small inconsistencies can affect the quality and accuracy of the final profile. Ensuring the template and guide are correctly aligned will result in smooth, consistent moldings.
What About Elliptical Moldings?
It’s important to note the difference between constant radius arc and elliptical moldings. While constant radius moldings follow a fixed curve (like a perfect circle segment), elliptical moldings change in radius along their length, making them more complex to produce.
For these projects, Williams & Hussey offers the Elliptical Jig, a purpose-built accessory designed to simplify the cutting of elliptical profiles. This jig allows woodworkers to shape moldings for elliptical windows, doorways, and archways with greater control and consistency.
The Elliptical Jig is compatible with all Williams & Hussey molders and includes adjustable guides and a mounting system to accommodate different ellipse sizes. It’s especially useful for custom millwork shops and architectural woodworking applications requiring unique geometries.
While you don’t need the elliptical jig for constant radius work, having it available expands the scope of what your Williams & Hussey Molder can do and gives you the flexibility to tackle a wide range of curved projects.
Preparing the Stock for Constant Radius Arc Moldings
1. Mark & Cut the Wood Sections
- Calculate the angle necessary to create your desired radius.
- Mark these cuts with attention to grain direction and color matching.
- For wide curves, several segments may be required. Take your time aligning them properly for a seamless curve.
2. Join Sections for a Continuous Curve
- Use biscuits and wood glue to join the cut segments.
- Clamp the assembly securely and allow adequate drying time.
- Sand any inconsistencies along the surface for a smooth, flush result before molding.
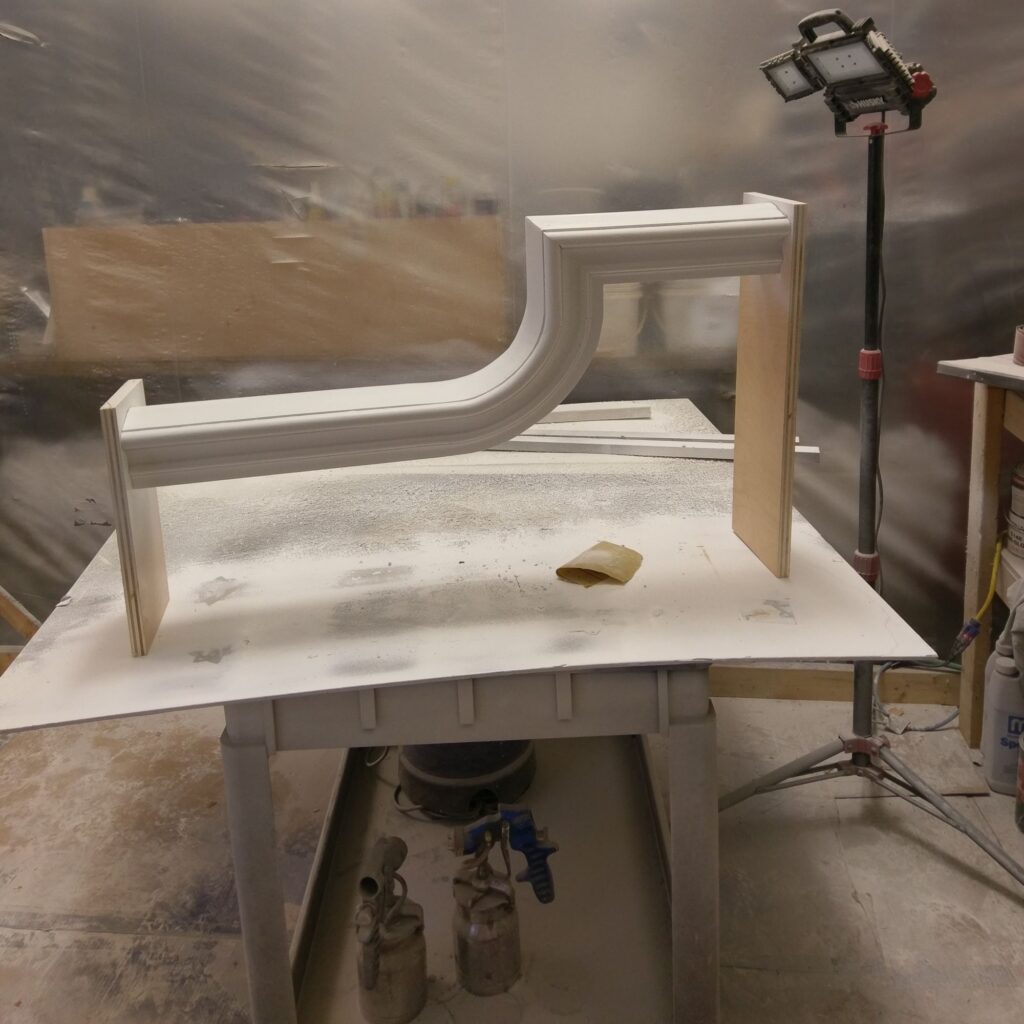
3. Using a Pivot Bar for Consistency
- Many woodworkers create a pivot bar and bracket system to control both the inside and outside radius cuts.
- The pivot bar mounts to the scrap portion of the workpiece and is drilled at measured intervals to accommodate various radii.
- Add a fine adjuster screw or threaded rod for precise incremental changes.
- Always cut the outside radius first, then proceed to the inside.
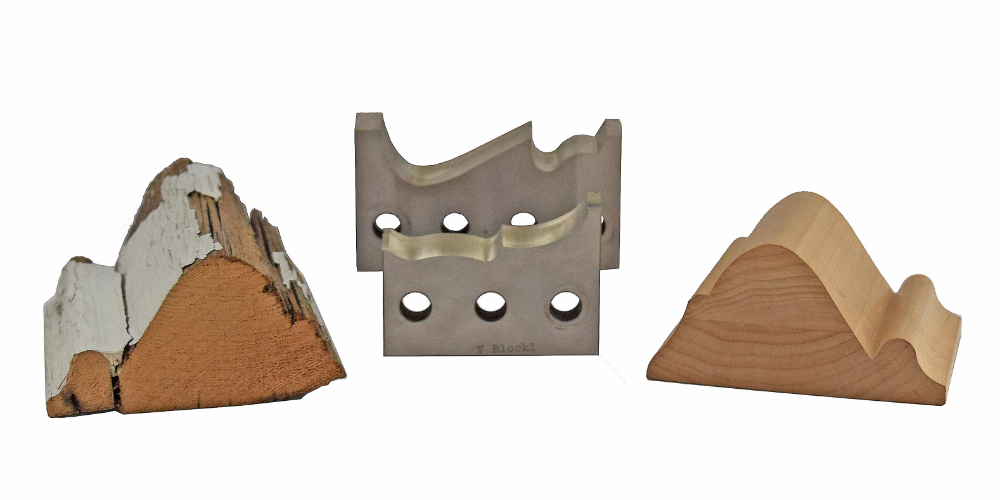
4. Creating & Using Guides
- Make custom MDF guides that match your desired inside and outside curves.
- Guides should be 20 inches long when used with the GS-2 system or 14 inches when relying solely on the bed.
- A band saw and spindle sander can be used to shape and refine these guides for smooth, consistent tracking.
Preparing the Stock for Elliptical Moldings
Preparing stock for elliptical moldings requires a more complex approach than for constant radius arcs due to the changing radius along the curve. Since the shape gradually transitions, careful planning and execution are essential for a smooth, accurate molding.
- Create & Shape the Template
- Begin by designing a template that follows the desired elliptical shape.
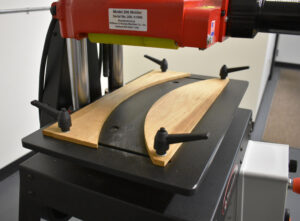
- Transfer the pattern onto MDF or plywood and cut it using a band saw.
- Refine the template with a spindle sander for a smooth and precise guide.
- Double-check the template’s accuracy by comparing it to the dimensions of the molding project.
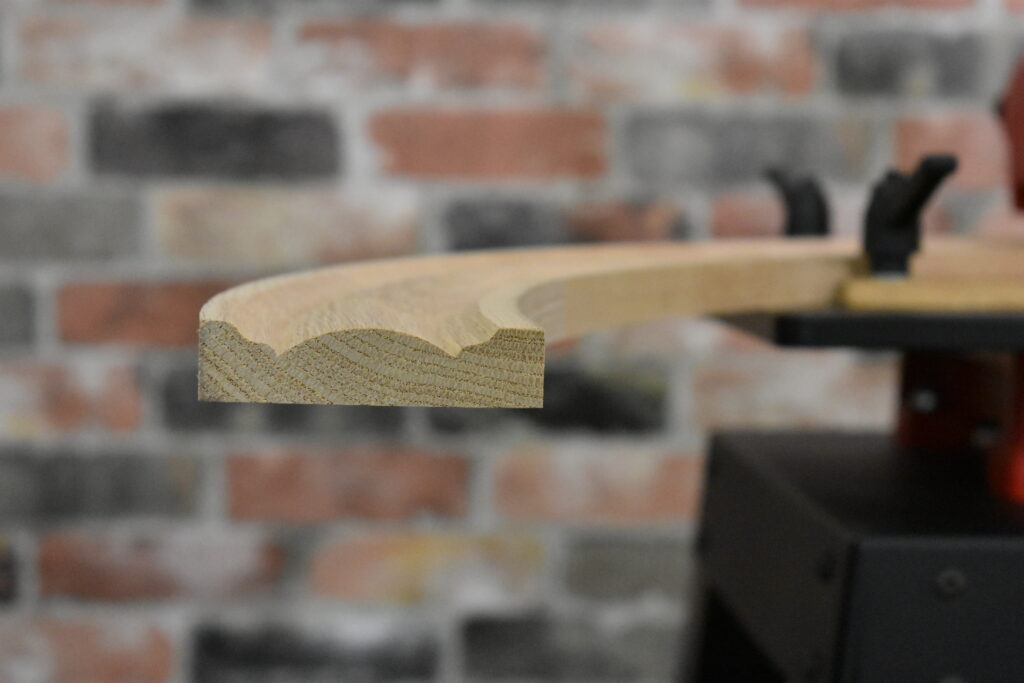
- Cut & Prepare Laminated Stock
- Elliptical moldings often require thin laminations that can be bent to follow the changing radius.
- Rip thin strips of wood that can be laminated and clamped around a form to create the elliptical curve.
- Apply wood glue evenly between the layers and clamp them securely to prevent gaps.
- Allow sufficient drying time before releasing the clamps so the laminated piece holds its shape.
- Segment & Join for Larger Profiles
- Cutting and joining multiple segments may be necessary for wider elliptical profiles or more extensive moldings.
- Use biscuits and wood glue to join the sections. Align them carefully to maintain the shape.
- Clamp the assembly tightly and allow it to dry fully before shaping.
- Sand the surface to remove inconsistencies and create a seamless transition between segments.
- Using the Elliptical Jig for Precision
- The Elliptical Jig from Williams & Hussey is essential for guiding the molding stock through the machine along the elliptical curve.
- Mount the template securely to the jig and align the stock with the guide.
- Use the fine adjusters on the jig to maintain control over the changing radius.
- Run a test pass to confirm the jig follows the correct elliptical path before proceeding with the final cut.
- Sanding & Fine-Tuning
- After cutting, sand the molded profile to refine uneven areas and ensure a smooth, consistent finish.
- Pay close attention to areas where the radius transitions to maintain a continuous curve.
By carefully preparing and aligning the stock, woodworkers can achieve clean and precise elliptical moldings that follow the intended design. Proper lamination, template accuracy, and jig setup will create professional-quality results.
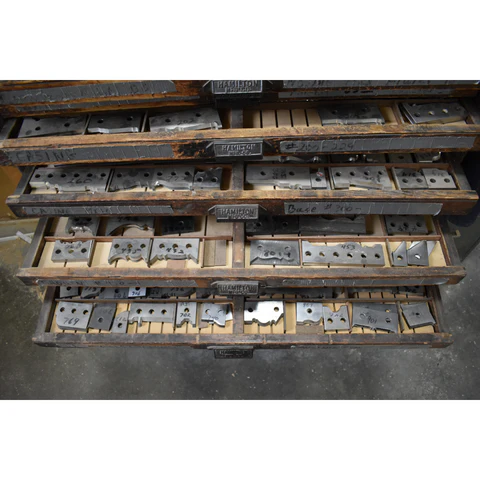
Tooling and Knife Considerations
- Use sharp, high-quality knives to minimize tear-out, especially with hardwoods like oak or maple.
- Slower feed rates and moderate cutter speeds will help prevent chatter on curved stock.
- Custom profiles can be ground to match arched trim or replicate existing molding profiles for restoration work.
Tips from the Field
One example of a shop putting the Williams & Hussey Molder to work for constant radius projects is Ballash Woodworks, a veteran-owned business based in Fayetteville, North Carolina. Specializing in heirloom furniture, custom home décor, and historically accurate trim, their team of craftsmen has fully integrated the molder into their workflow for custom curved applications.
When approached to create a curved glass window for a storefront, Ballash Woodworks needed to produce precise arched sills and heads. They invested in a Williams & Hussey Model 206 Molder, the EJ-92 Elliptical Jig, a mobile base kit, and a profile pressure guide to meet the challenge.
The molder gave them the ability to:
- Craft arched trim boards and curved window components
- Replicate historic moldings with high accuracy
- Offer custom trim packages for doors, baseboards, and window casings
Ballash Woodworks elevated its capabilities and expanded into new markets by delivering historically authentic, beautifully curved profiles.
Safety Considerations
Avoid closed-loop molding. These setups are considered unsafe and do not provide enough roller pressure at the entry point.
Always ensure the stock is firmly supported and the guides are properly aligned.
Wear eye and ear protection, and double-check all pivot and guide fastenings before running material.
Final Thoughts
With the right tools and techniques, crafting constant radius arc moldings becomes a repeatable and rewarding process. Whether adding elegance to a modern archway or replicating historic woodwork, the Williams & Hussey Molder is a versatile machine that delivers consistent, professional results.